How to improve the rendering effect of 3D Tiles models in Cesium
As we all know, the Cesium lighting model is relatively simple, making models look flat and unremarkable, lacking depth and layering. Therefore, if you want models to have a sense of depth in Cesium, you should focus on the following aspects:
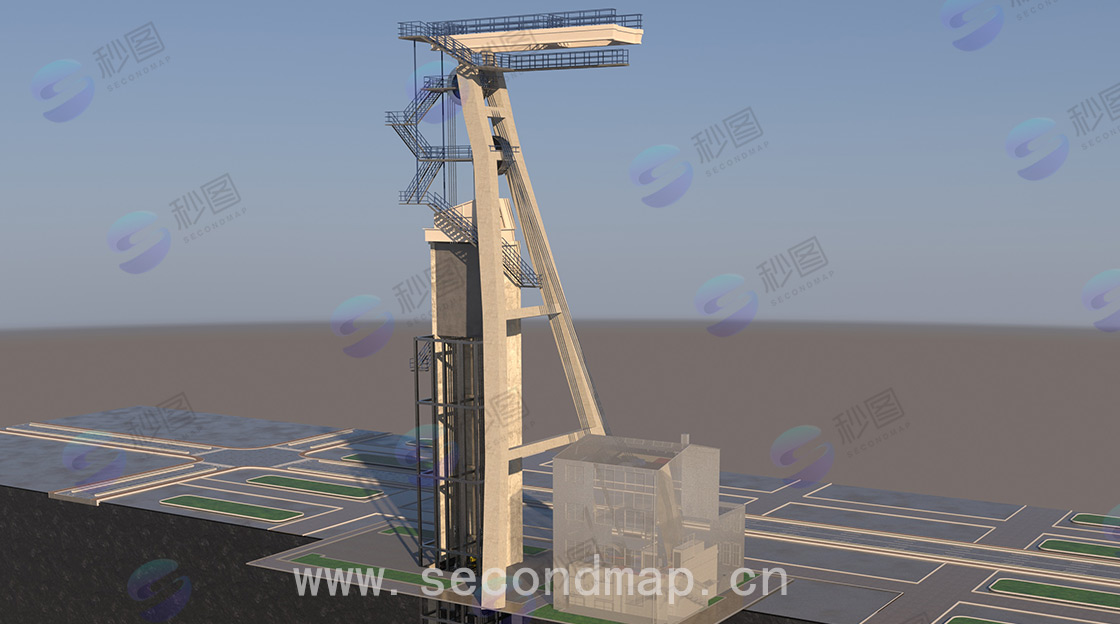
1. Ensure the model's dimensions, proportions, and structure are accurate during modeling. Use precise measuring tools and reference materials. For complex models, you can first draw sketches or create conceptual designs, clarify the relationships and proportions of each part before modeling.
Add details: Appropriately add details according to the model's purpose and requirements. For example, add door and window handles, brick textures on building surfaces, and other details to architectural models, or add hair and clothing wrinkles to character models. This can be achieved through subdivision surfaces, displacement maps, and other methods.
2. Optimize the model's topology structure to ensure reasonable wiring. At key parts of the model, such as joints and curved surfaces, ensure uniform line distribution that conforms to the object's motion and deformation patterns, so it can be correctly displayed in subsequent animation production or rendering.
Materials and Textures
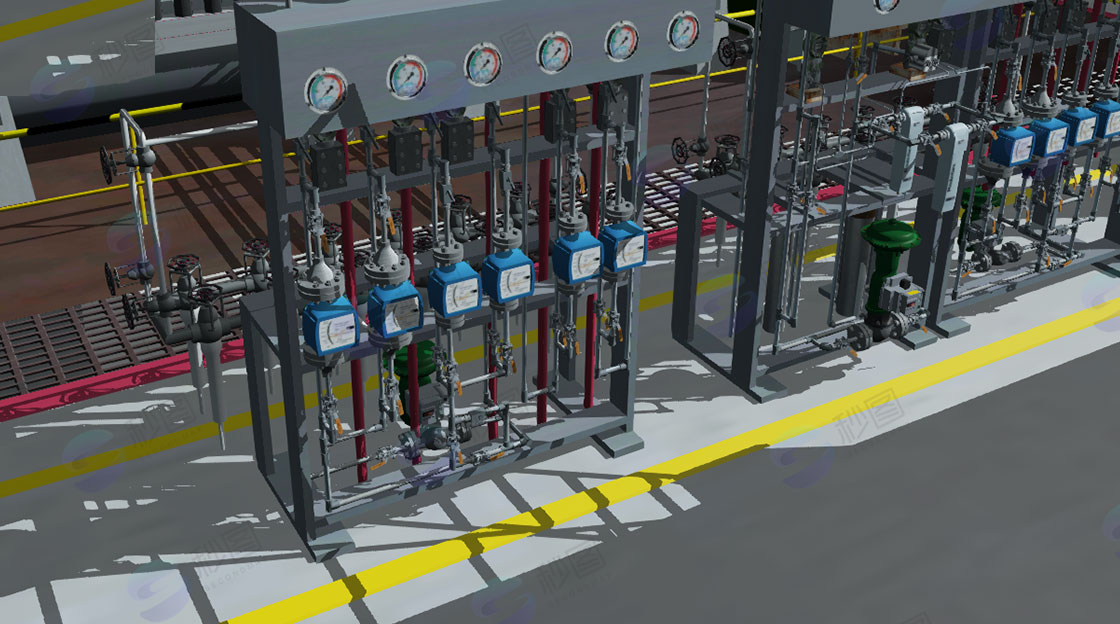
3. Select appropriate material types based on the model's actual material properties, such as metal, wood, glass, etc. Adjust material parameters such as diffuse reflection, specular reflection, reflection, and refraction to make them closer to the effects of real materials.
4. Use high-resolution texture images to increase surface details and realism of the model. Use image processing software to create or edit textures, ensuring the texture's color, contrast, and clarity meet the model's requirements. Surface details and depth can also be enhanced through normal maps and bump maps.
5. Optimize UV unwrapping: Properly perform UV unwrapping to ensure textures can be correctly mapped to the model surface, avoiding stretching and distortion issues. For complex models, multiple UV unwrapping methods may be needed with manual adjustments to ensure texture fit.
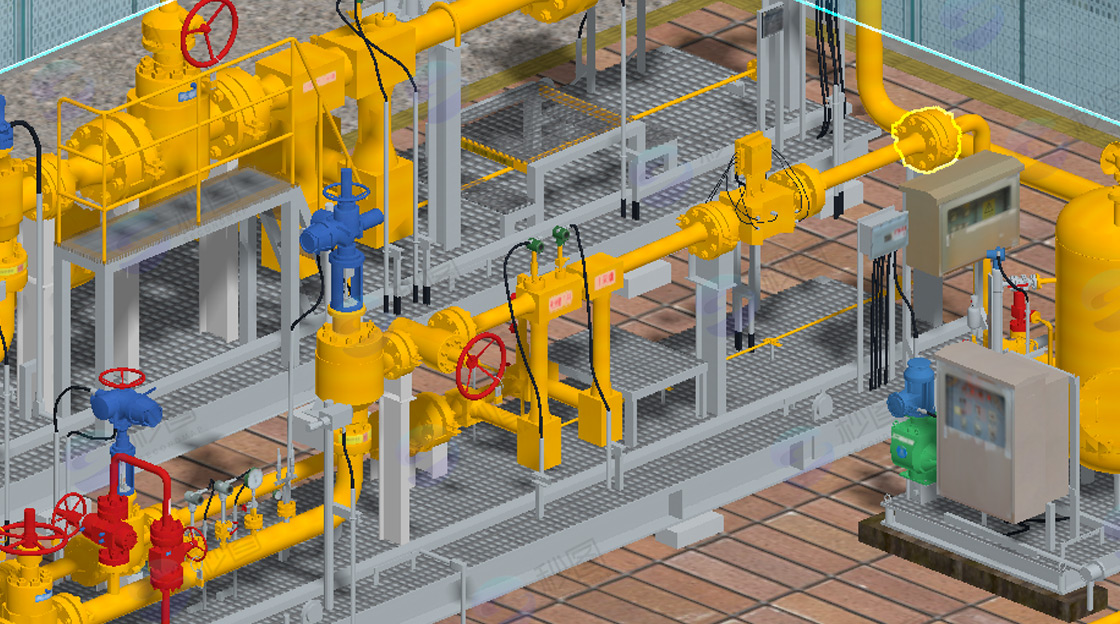
The most important aspect is 3D model baking, with proper lighting effects set before baking:
Set different types of lights according to scene requirements, such as directional lights, point lights, and spotlights, to simulate natural or artificial light sources. Consider light parameters such as position, intensity, color, and attenuation to make lighting effects more realistic.
Use the shadow function of lights to add shadows to models, enhancing the scene's depth and three-dimensionality. Different shadow types can be selected, such as hard shadows and soft shadows, with shadow intensity and blur adjusted according to actual conditions.
Enable global illumination effects, allowing light to undergo multiple reflections and scattering in the scene, more realistically simulating light propagation in the environment, making the scene look more natural and (gentle).
After setting the baking parameters, execute the baking operation in 3D software. The software will calculate and generate corresponding baked textures based on the lights and model information in the scene.
After baking is complete, carefully check the baking effects, looking for issues such as light leaks, shadow flickering, and texture stretching. If problems are found, analyze the causes and adjust relevant settings to rebake. For example, if light leaks occur, it may be due to gaps between models or unreasonable light settings; if texture stretching occurs, the UV layout may need to be readjusted.
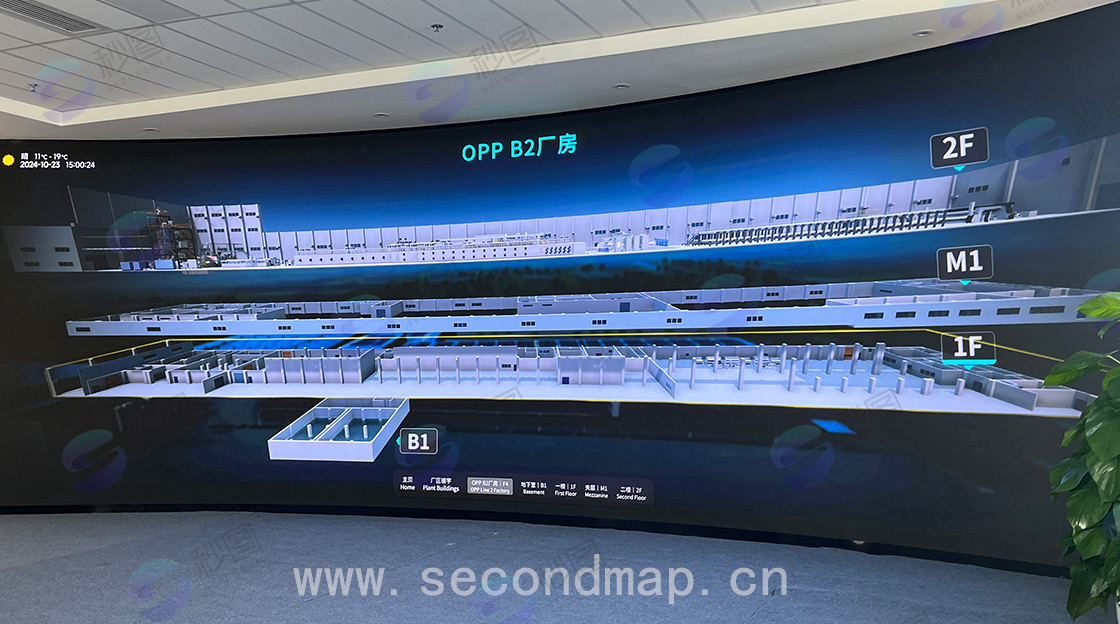
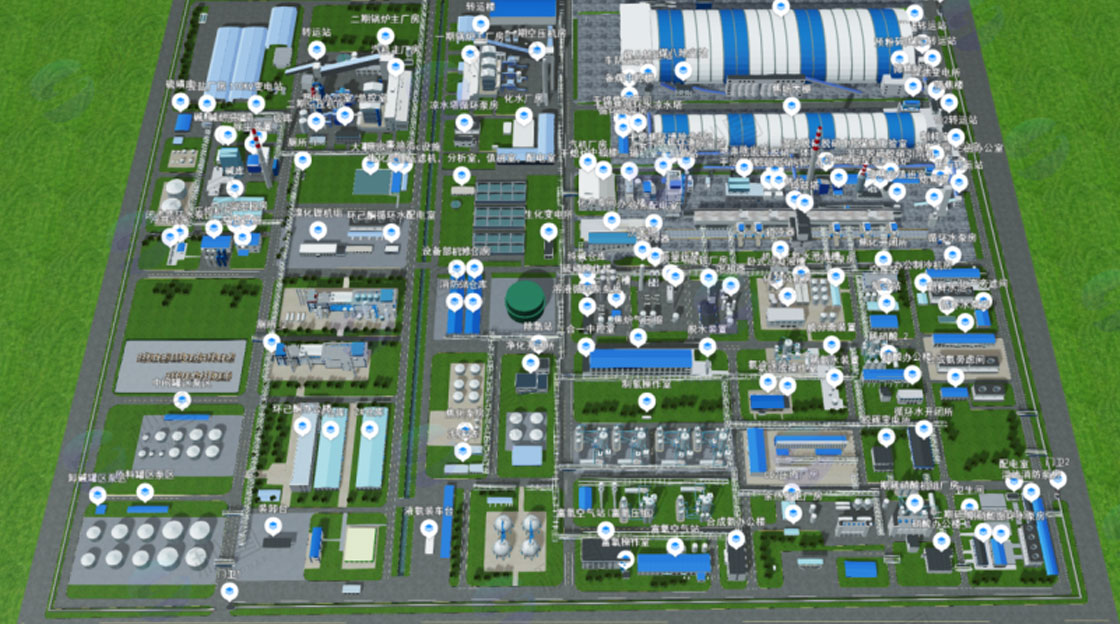
Then export the 3D model and load the 3D tile model in Cesium, and you will find that the model's rendering (effect) will be greatly improved.